How To Scan Documents using Android Phone Camera
Written by Pavan Kumar on April 29, 2011
These days, smartphones have become a replacements for everything in our day-to-day life. Whatever desktops and laptops used to do previously are being successfully handled by tablets and smartphones. One similar replacement for a bulky scanner is any Android device with a camera.Referring to Android device means, there is the magic of a tiny app which handles the operations in a smart way – and that smart application is – CamScanner. Let us have a clear step by step demo of how to use this application to scan documents with phone camera.
1. Install CamScanner application from Android Market.
2. Open CamScanner, click on camera scan icon as shown below.
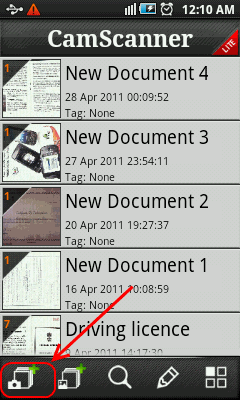
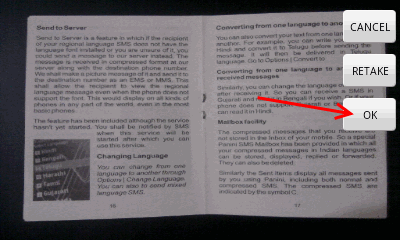
2. Take snap making sure that all margins are covered. Its recommended to use a background with opposite contrast of your document. If your document is a dark one, keep it on light background and vice versa. Once the photo is captured, you will be given an option to accept it or retake another one. Decide based on clarity and coverage area. Taking images from too far may not render the alphabets properly on your scanned digital document.
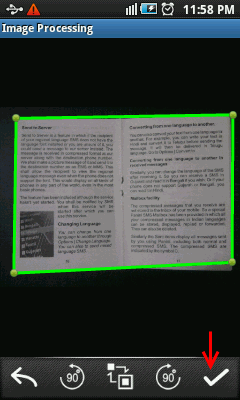
3. Once this is done, it will present you with the next screen to confirm the actual margins of the document.The app identifies the margins properly, but in few cases, you might need to edit if your document is not so distinguished from the background. You can edit margins / retain the same and click on the check mark to proceed to next step. In further steps, it will trim the image and enhance it to get your scanned document ready. This is the last chance for you if you want to rotate the scanned document in clockwise / anticlockwise direction.
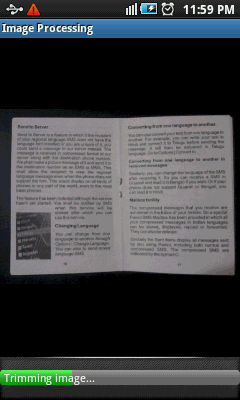
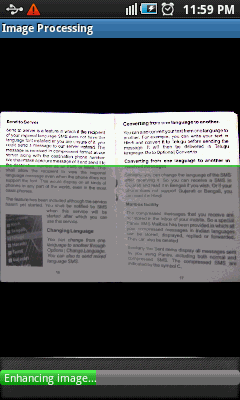
4. Now the scanned document is ready to use. You can also save it as a PDF. Below is the scanned document and the same opened in Adobe Reader with a higher zoom to reflect the clarity.
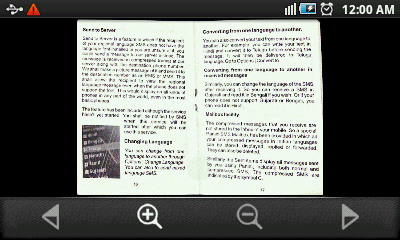
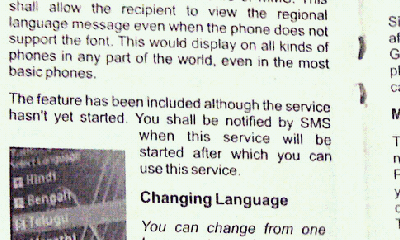
You may find interest in reading our other entries in mobiles section.
People who liked this also read:


0 Readers responded to this post
2 Blog responses for this post
Leave Your Comments Below / Trackback