How To Install WordPress Locally On Desktop
Written by Pavan Kumar on October 9, 2008
WordPress is the dominating blog software ruling the blogosphere. The fame of wordpress lies in the fact that it is free, comfortable, customizable and tons of plugins are available to make your blogging a wonderful tour.
We all use web softwares, but most of us don’t know how to install wordpress or any other web software as all installation part is usually carried by one click installers provided by the webhost in the control panel.
The intention of this article is to help those geeks who want to experiment different things on wordpress or any web softwares or even to tweak their favorite wordpress theme. It is really painful to do all these work on our live blog online. It would be better if we can tweak them offline on our system, this also makes the work very fast as there is no data transfer between the server and system.
For this you need to setup your computer as a web server. You need a webserver software like apache or IIS to run always in the background and you need to install php and mysql to run wordpress. Here is the easy possible solution I use:
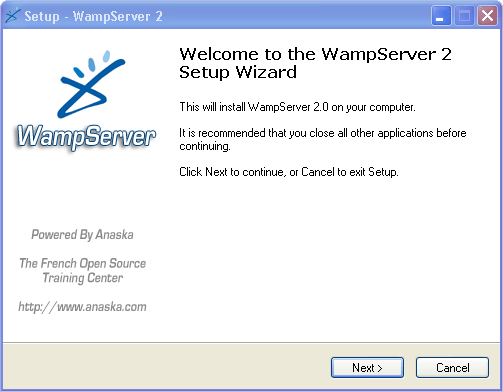
1. Download and install latest version of WAMP [windows] [LAMP for Linux, and MAMP for Mac OS].
2. Download the latest version of wordpress.
3. Extract the wordpress zip content and paste the same into www folder. The www folder can be found in the directory of WAMP. If you install WAMP on C:\Program Files\wamp, you have to copy the wordpress folder into C:\Program Files\wamp\www. There will be a folder called wordpress in latest.zip, but you need to copy the contents of wordpress folder to the folder you intend to make your wp installation. Eg: If you want your wordpress to be in location, http://loclahost/wp, you need to copy all content of wordpress folder into a folder C:\Program Files\wamp\www\wp.
4. Run Wamp Server software from start menu.
5. On your browser open http://localhost/.
6. Under tools, open phpMyAdmin [short link: http://localhost/phpmyadmin/] and create a new database for your wordpress install.

7. Open http://localhost/wp as in this example.
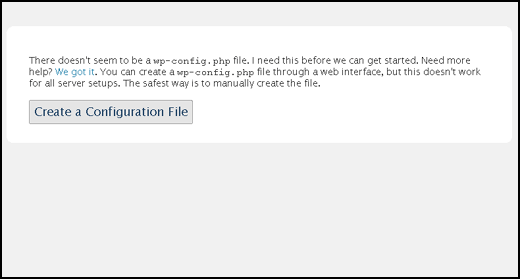
8. Click Create Configuration file>Lets Go.
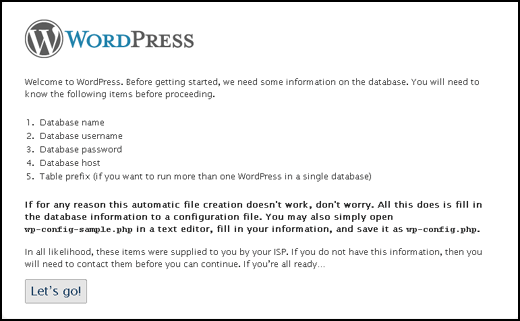
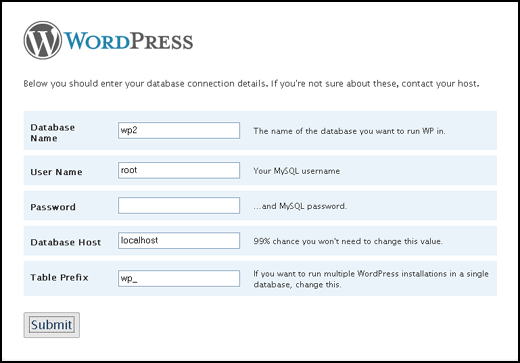
9. You will now be asked for configuration of your database connection.
- Database Name: Enter the database name you created in step 6.
- User Name: root
- Password: BLANK – don’t enter the word BLANK, just leave blank space 😉
- Database host: localhost
- Table prefix: Keep it as it is – wp_
10. Configuration done. Run the Install.

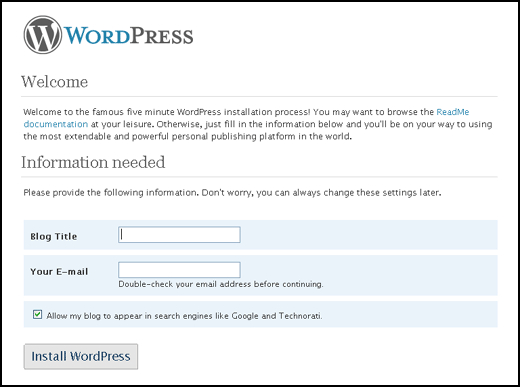
11. Enter your blog name and mail id. The other option provided there – listing in search engine has nothing to do in local installation. Click Install WordPress.
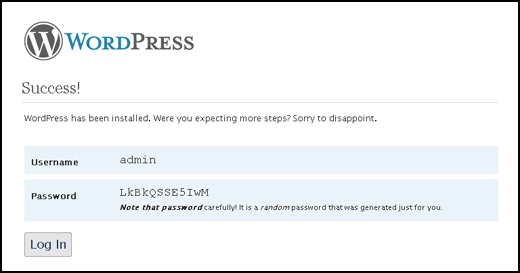
12. Success. You are now provided with wordpress login details. These details are the most important ones as your first login should always be done with these credentials. It is recommended to change your password as you login for the first time.
Note: This is the basic installation method and with this much of knowledge you can install almost any web softwares like phpbb, joomla, drupal, bbpress or any scripts. You just need to refer the documentation provided with them. In the same way you can manually install wordpress on your web host.
People who liked this also read:


Really informative post. I think it might be helpful in building a good WordPress blog